
React Three Fiber is a library for using Three.js with React. Its major appeal is that it lets you build 3D scenes declaratively while taking advantage of reusable components, one of React’s key strengths.
With regular Three.js, each step must be written imperatively: creating meshes, applying materials, adding them to the scene, and so on. With React Three Fiber, the library handles much of the complex work behind the scenes. You can declare the scene you want as components, which makes the flow of the code easier to understand.
Example: writing a cube mesh with regular Three.js
const geometry = new THREE.BoxGeometry();
const material = new THREE.MeshNormalMaterial();
const box = new THREE.Mesh(geometry, material);
scene.add(box);
Example: writing a cube mesh with React Three Fiber
Note: Pass createWebGpuRenderer, created in step 3, to the gl prop of Canvas. The same applies to the examples below.
<Canvas gl={createWebGpuRenderer}>
  <mesh>
    <boxGeometry />
    <meshNormalMaterial />
  </mesh>
</Canvas>
This article introduces React Three Fiber’s appeal, setup process, and a few simple implementation examples. It should help you see the differences from the imperative style and understand its benefits.
This article is recommended for readers who:
- know the basics of writing Three.js and React code
- find regular Three.js code complicated or difficult to work with
Demo implemented with React Three Fiber. Click the winding key to try it.
What is React Three Fiber?
One of React Three Fiber’s key characteristics is that Three.js objects are exposed as React components in a way that fits React. Compared with regular Three.js code, you can omit setup for the renderer and scene, which can greatly reduce the amount of code. Also, because it is component-based, the structure is easy to understand and maintain.
If you want to review the basics of Three.js, see Three.js入門サイト.
Reference: settings required to display a scene in regular Three.js
<Canvas gl={createWebGpuRenderer}>
  <mesh>
    <boxGeometry />
    <meshNormalMaterial />
  </mesh>
</Canvas>
Let’s look again at the example from the beginning. There is a mesh component inside the Canvas component. Inside that, the geometry and material are arranged as a tree structure, which should make the scene visually easier to understand.
Another advantage is that the mesh component has event props such as onClick and onWheel, making it easy to add interactive behavior.
Given these advantages, React Three Fiber is a strong candidate for React projects. The following sections explain the steps from installing the library to displaying 3D content.
1. Install the libraries
Step 1. Prepare a React project
First, you need to create a React project. For this article, the project was created with Vite + React + TypeScript. Clone the sample code from the link below, or create a new project from the command line and prepare a repository.
When creating a new project with Vite:
npm create vite@latest
- For “Select a framework:”, select “React”.
- For “Select a variant:”, select “TypeScript”.
Step 2. Install the libraries
Install Three.js itself, its type definitions, and @react-three/fiber.
npm install three @types/three @react-three/fiber
Step 3. Specify the WebGPU renderer
WebGPU is a next-generation graphics API designed as a successor to traditional WebGL. It provides efficient access to the GPU and can deliver higher performance than WebGL. Three.js provides WebGPURenderer, a renderer with WebGPU support.
For the basics of using Three.js with WebGPU, see Getting started with Three.js on WebGPU.
React Three Fiber’s Canvas uses WebGLRenderer by default. To use Three.js WebGPURenderer, pass an asynchronous function to the gl prop. WebGPURenderer requires init() for initialization, and React Three Fiber handles the waiting process for you.
To reuse the renderer across multiple samples, separate the renderer creation function into its own file.
src/lib/createWebGpuRenderer.ts
import { WebGPURenderer, type WebGPURendererParameters } from "three/webgpu";

// React Three FiberのCanvasのgl propに渡すrenderer factory
export const createWebGpuRenderer = async (props: object) => {
  // React Three FiberのpropsはWebGL基準の型なので、WebGPU rendererの型として読み替える
  const renderer = new WebGPURenderer(props as WebGPURendererParameters);

  // WebGPUは非同期で初期化
  await renderer.init();

  return renderer;
};
In the following samples, import this function and pass it to the gl prop of Canvas.
Note: This syntax is for React Three Fiber v9 as of the time of writing. In v10, currently under development, WebGPU is planned to be supported by default. You will be able to specify it with the renderer prop of Canvas, without writing an initialization function. For details, see the React Three Fiber v10 alpha discussion.
2. Add components
Now let’s display something. Add the Canvas component to the component you want to display on screen. Inside it, add a mesh component, then add geometry and material components.
import { Canvas } from "@react-three/fiber";
// Renderer creation function created in step 3
import { createWebGpuRenderer } from "../../lib/createWebGpuRenderer";

<Canvas gl={createWebGpuRenderer}>
  <mesh>
    {/* Sphere geometry */}
    <sphereGeometry />
    {/* Normal material */}
    <meshNormalMaterial />
  </mesh>
</Canvas>
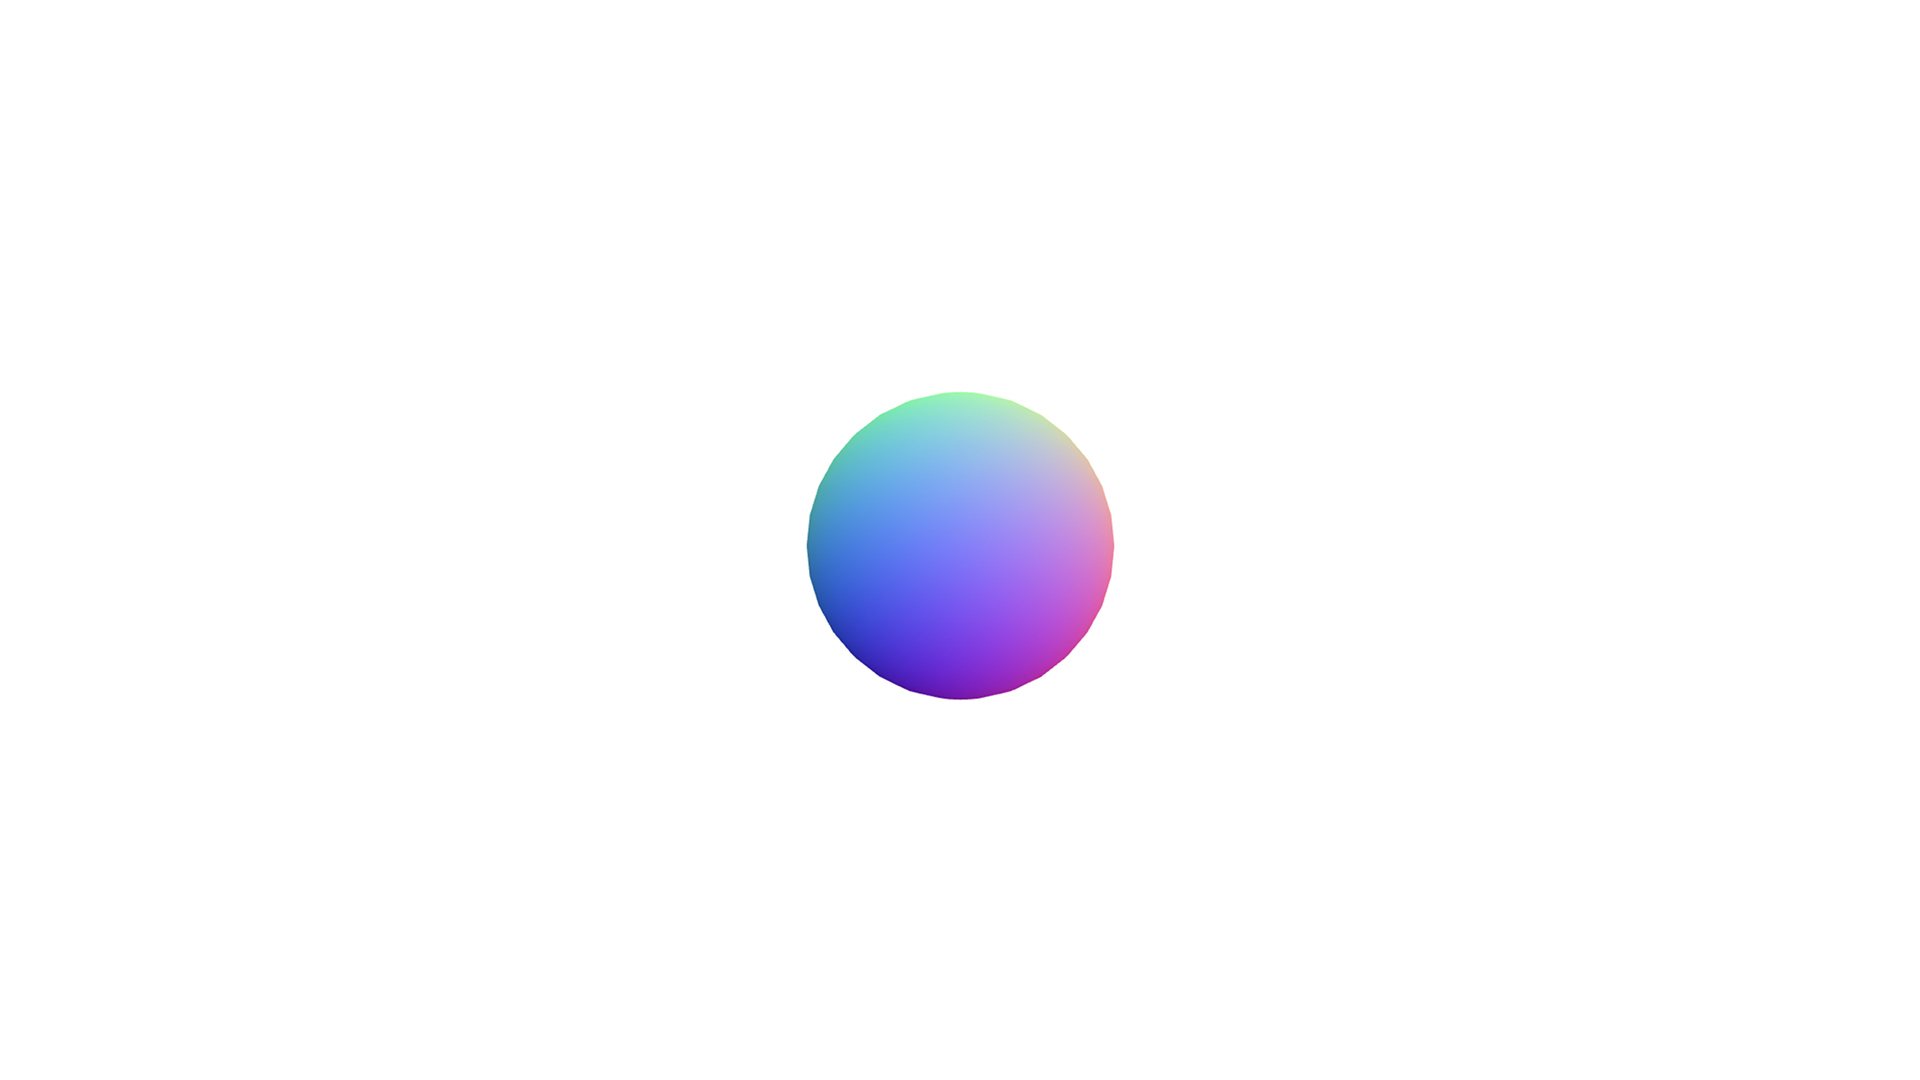
This is all it takes to render the scene. Camera and other settings can be customized through props on Canvas.
Example: adjusting the camera and shadows
<Canvas
  gl={createWebGpuRenderer}
  camera={{
    fov: 45, // Field of view
    position: [-8, 3, 8], // Position
  }}
  shadows="soft" // Enable shadows
></Canvas>
Load external 3D models by wrapping them in Suspense
Next, let’s load a 3D model. Place the model data under the public directory, then load it with useLoader(loader, dataPath). This sample uses glTF, so it uses GLTFLoader.
Pass the loaded data’s scene to the object prop of the primitive component.
Excerpt from src/pages/model/Page.tsx:
import { Suspense } from "react";
import { Canvas, useLoader } from "@react-three/fiber";
import { createWebGpuRenderer } from "../../lib/createWebGpuRenderer";
import { GLTFLoader } from "three/examples/jsm/Addons.js";

const Model = () => {
  // Load the 3D model
  const gltf = useLoader(GLTFLoader, "./gltf/neji.glb");
  return (
    <primitive
      object={gltf.scene}
      scale={2}
      position={[0, 0.6, 0]}
      rotation={[0, 0.7, 0]}
    />
  );
};

export const ModelPage = () => (
  <Canvas gl={createWebGpuRenderer}>
    <Suspense fallback={null}>
      <Model />
    </Suspense>
  </Canvas>
);
The scene loads without waiting for the model to finish loading.

As described later, adding the @react-three/drei library lets you write this more concisely, so it is worth considering.
Example using the Gltf component:
import { Gltf } from "@react-three/drei";

const Model = () => {
  return <Gltf src="./gltf/neji.glb" />;
};
3. Interaction
Let’s add interaction. The mesh component has various event props, including onClick, onPointerOver, and onPointerMove. Elements inside a canvas, such as Three.js objects, normally do not receive DOM-like events. React Three Fiber uses a raycaster internally (a method for detecting whether a ray hits an object), allowing events to fire through props.
Excerpt from src/pages/pointer/Cube.tsx:
export const Cube = ({ disablePropagated, ...props }: Props) => {
  const [isActive, setIsActive] = useState(false);

  const handlePointerOver = (event: ThreeEvent<PointerEvent>) => {
    if (disablePropagated) {
      // 手前のオブジェクトでイベントが発生したら伝播を止める
      event.stopPropagation();
    }
    setIsActive(true);
  };

  const handlePointerOut = (event: ThreeEvent<PointerEvent>) => {
    if (disablePropagated) {
      event.stopPropagation();
    }
    setIsActive(false);
  };

  return (
    <mesh {...props} scale={1.4} onPointerOver={handlePointerOver} onPointerOut={handlePointerOut}>
      <boxGeometry />
      <meshStandardMaterial color={isActive ? "#02bbff" : "#edce3c"} />
    </mesh>
  );
};
One caveat is that pointer events pass through overlapping objects and fire on the objects behind them.
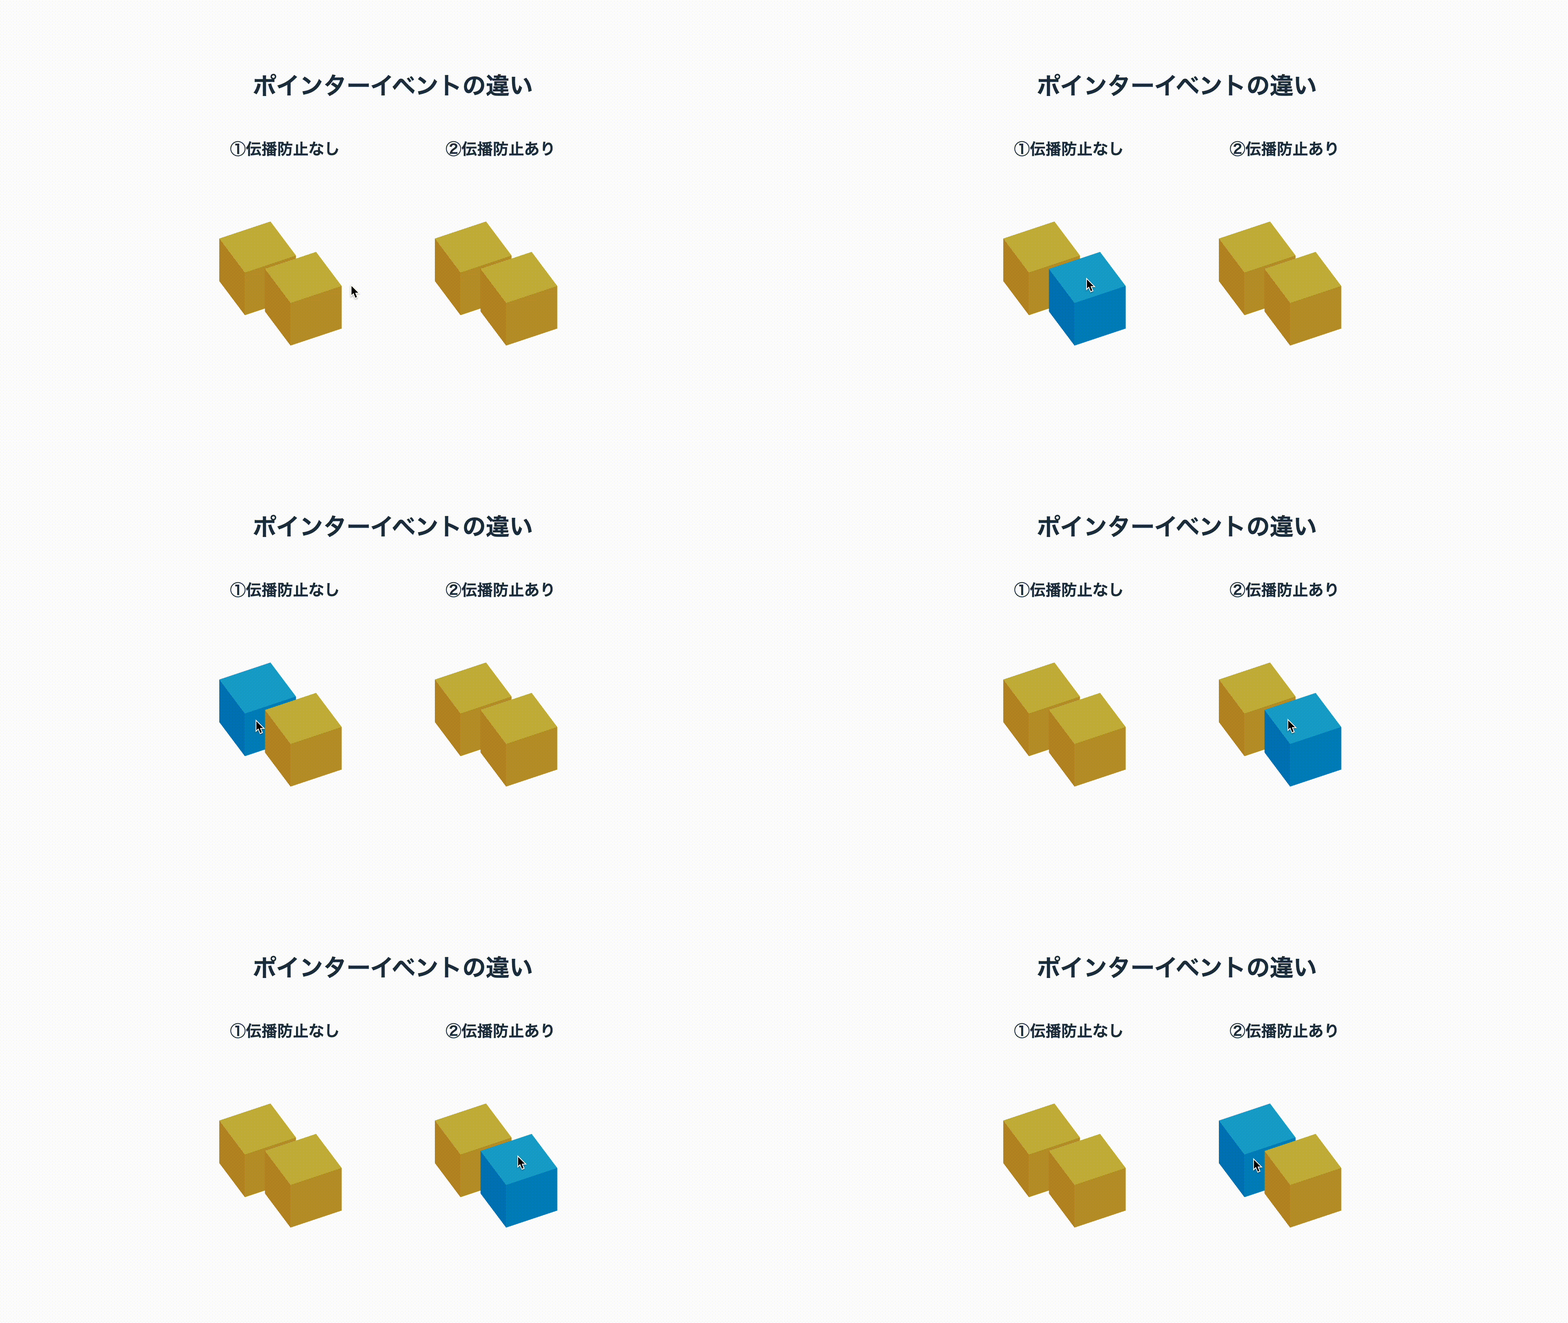
If you do not want pointer events to pass through, add event.stopPropagation() to the object’s event handler to prevent pointer event propagation.
const handlePointerOver = (event: ThreeEvent<PointerEvent>) => {
  // Stop propagation when an event occurs on the front object
  event.stopPropagation();
};
4. Animation
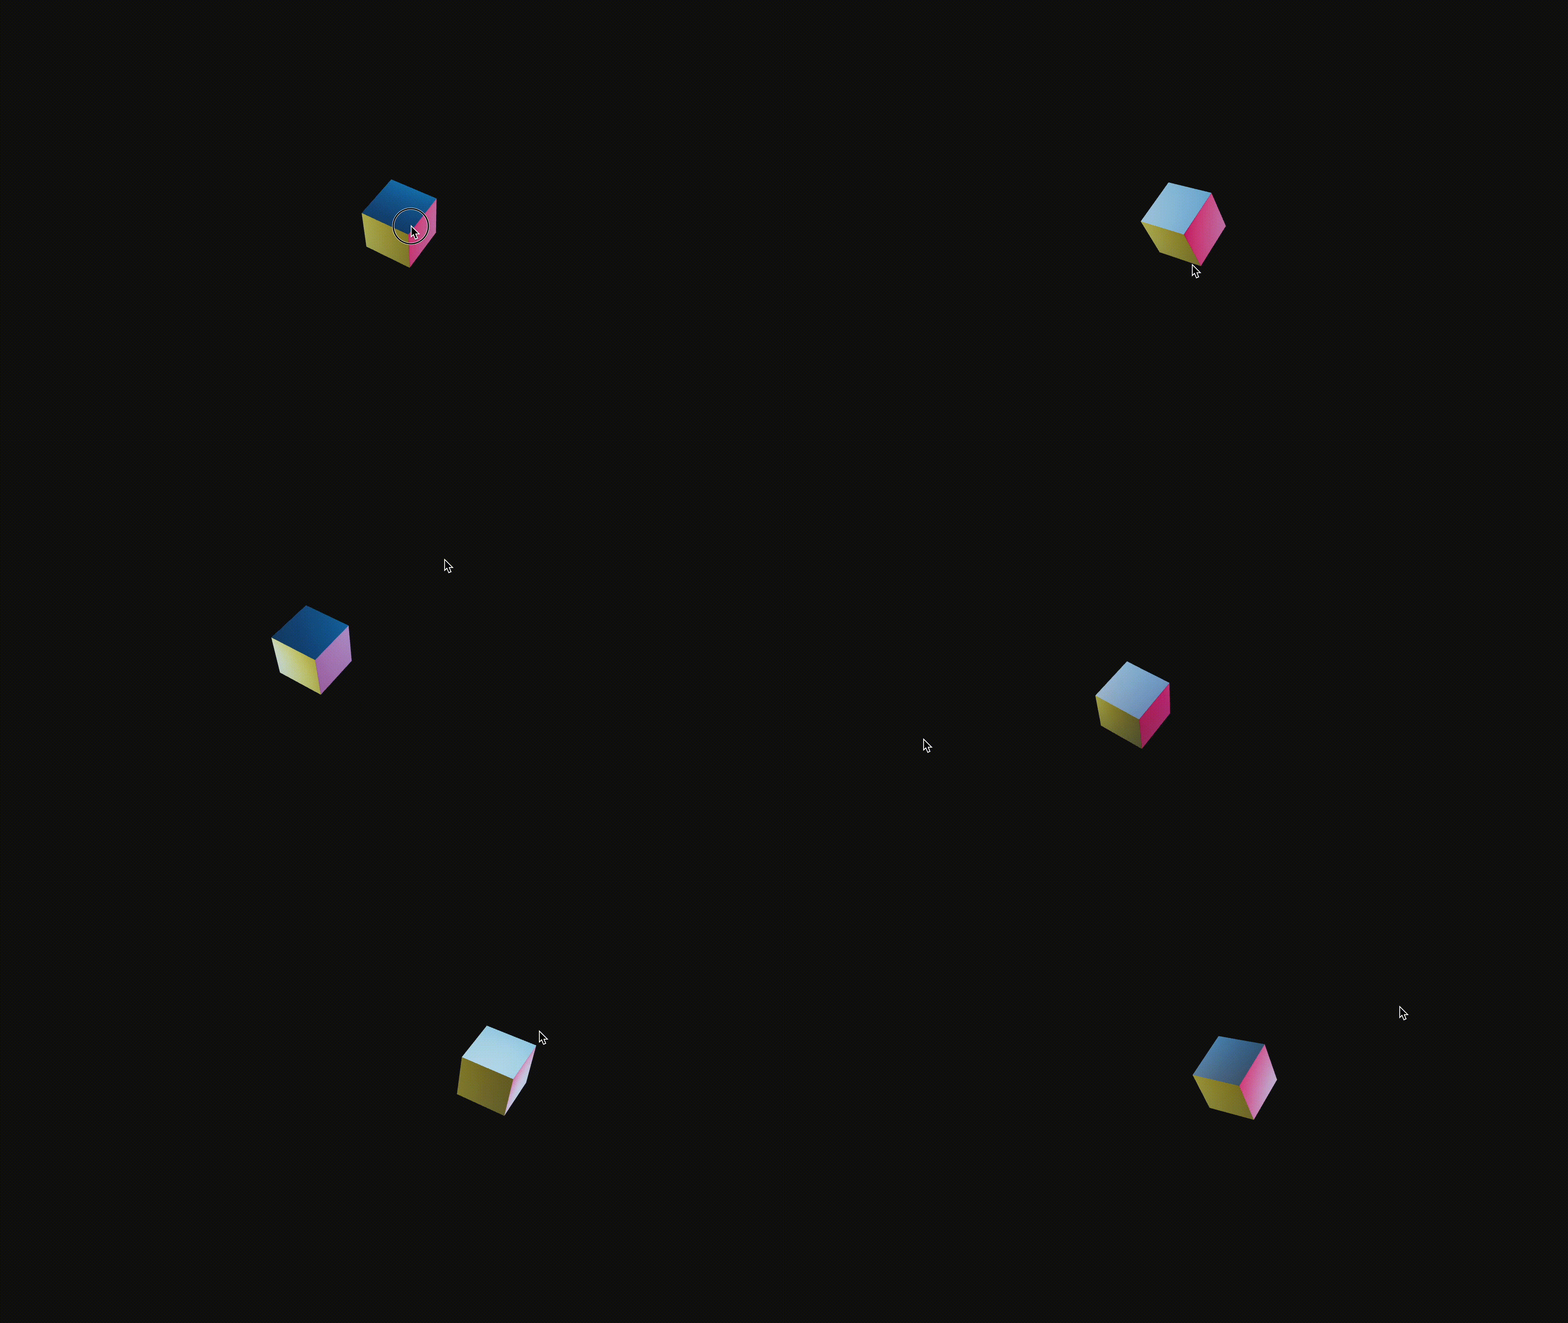
Animation 1. Rotate a mesh on click
Add an animation when the mesh is clicked. Animations can be implemented with useFrame, a hook similar to requestAnimationFrame.
As a caveat, avoid using setState for frame-by-frame updates inside useFrame. Update mesh properties through a ref, and limit setState to state transitions such as clicks or animation completion.
Here, logic has been added to update the meshRef.current.rotation.y property. When the mesh is clicked and isActive becomes true, the mesh performs one full rotation.
Excerpt from an example that rotates a mesh on click:
const Box = () => {
  // Is the rotation animation active?
  const [isActive, setIsActive] = useState(false);
  // Mesh reference
  const meshRef = useRef<Mesh>(null);

  // Update on each frame
  useFrame((state, delta) => {
    if (!meshRef.current) {
      return;
    }
    // Rotate once on click, when isActive is true
    meshRef.current.rotation.y = isActive
      ? THREE.MathUtils.damp(
          meshRef.current.rotation.y, // from
          2 * Math.PI, // to
          4, // Damping coefficient. Larger values make the movement sharper; smaller values make it smoother
          delta, // Interpolation coefficient. Pass delta time to keep animation speed independent of the refresh rate
        )
      : 0; // Return to 0

    // Logic after rotation finishes
    if (meshRef.current.rotation.y >= 2 * Math.PI - 0.01) {
      setIsActive(false);
    }
  });

  // Click handler
  const handleClick = () => {
    setIsActive(true);
  };

  return (
    <mesh
      ref={meshRef}
      rotation={[-1, 0, 1]}
      position={[0, 15, 0]} // 初期位置(上から登場する)
      castShadow={true} // 影を落とす
      onClick={handleClick}
    >
      <boxGeometry />
      <meshStandardMaterial />
    </mesh>
  );
};
Animation 2. Move a mesh based on the pointer position
Add logic that moves the mesh position based on the mouse or pointer position.
Excerpt from an example that moves a mesh based on the pointer position:
const Box = () => {
  // Mesh reference
  const meshRef = useRef<Mesh>(null);

  const v = new Vector3();
  // Update on each frame
  useFrame((state, delta) => {
    if (!meshRef.current) {
      return;
    }

    // Smoothly move the mesh's x and y coordinates according to the pointer position
    meshRef.current.position.lerp(
      v.set(state.pointer.x * 3, state.pointer.y * 2, 0),
      delta * 2, // Interpolation coefficient. Pass delta time to keep animation speed independent of the refresh rate
    );
  });

  return (
    // Omitted
  );
};
The useFrame hook takes several arguments. state contains information about the rendering state. When you want to update properties based on the mouse or pointer position, you can read it from state.pointer.
Column: ecosystem
React Three Fiber has a strong ecosystem of tools useful for development. Here is one especially useful library.
@react-three/drei
@react-three/drei is a helper library that is very useful when you want to build more complex scenes. It provides many features, including scene controls such as OrbitControls. It also provides materials and shaders such as gradients, and more advanced components such as sky and caustics.
To see what features are available, refer to the official documentation and Storybook.
Library installation:
npm install @react-three/drei
Implementation example:
Conclusion
This article introduced React Three Fiber from setup through implementation. If you are familiar with basic React syntax, you may have seen how it keeps code simple and intuitive. Splitting scenes into components also makes them easier to manage.
Because React re-rendering and 3D rendering interact with each other, it is useful to understand the performance considerations. See the official documentation on performance pitfalls.
We also use React Three Fiber in our projects and have felt the improvement in developer experience. Try building an application with React Three Fiber.