In front-end development, E2E (end-to-end) testing is becoming increasingly important for verifying an application as a whole, including how its UI behaves. At the same time, E2E testing is often seen as difficult to introduce and maintain. This article explains how to start E2E testing without unnecessary complexity, using Playwright.
Playwright is an E2E testing tool developed by Microsoft. Tests can be written in TypeScript or JavaScript, so web developers can use familiar language skills directly.
Playwright is valued for its ability to test major browsers through a single API and for its fast test execution. ICS has also introduced Playwright in real projects. We use it for regression testing, where the goal is to confirm that revisions have not affected existing features.
This article is split into two parts. Using a simple web app as the example, it explains the workflow for E2E testing with Playwright. Front-end engineers involved in web development should find it useful.
This first part covers Playwright setup, how to write tests, and useful supporting tools.
Target audience:
- People who want to try introducing E2E testing
- People who feel the need for E2E testing but have not yet introduced it
- People who want to understand the basics of Playwright
Goals of this article:
- Quickly understand what Playwright can do
- Learn the basics of testing and code generation step by step
What is E2E testing?
E2E testing is a testing method that verifies the behavior of an entire application by following the same flow as an actual user. It automatically reproduces operations such as clicking buttons, entering text into forms, and navigating between screens in a browser, then checks whether the screen responds correctly.
Unit tests verify individual functions and logic. E2E tests, in contrast, can verify a complete user experience, including screen display and UI behavior. They are well suited for checking user-facing behavior that unit tests cannot guarantee, such as the following:
- A modal dialog appears when a button is clicked
- Entered content is reflected on the screen
- The screen navigates to another page
- An error message appears when an error occurs
For more on unit testing, see the article JavaScriptのユニットテストを始めよう - ユニットテストのメリットと書き方のコツ.
Key features of Playwright
Playwright is a testing tool that makes it possible to introduce an E2E testing environment at low cost. It includes standard features needed in real projects, such as browser automation and report output.
Multi-browser support
Playwright supports Chromium, Firefox, and WebKit. Chrome and Edge can be tested as Chromium, and Safari-like behavior can be tested through WebKit. The same tests can be run across multiple browsers.
Auto-waiting
Playwright automatically waits for elements to become visible and actionable, which reduces the need to fine-tune wait times. Tests can run stably without explicitly writing wait code.
High-fidelity UI operations
Playwright can reproduce user operations such as clicks, scrolling, and text input in a way that closely matches actual browser operations.
Fast execution
Playwright controls browsers directly and efficiently, and it supports parallel execution by default. This helps reduce the overall execution time of E2E tests. The auto-waiting described above also reduces unnecessary fixed waits and retries, helping achieve both stability and speed.
Powerful supporting features
- Network mocking
- Device emulation
- Automatic test code generation
- Visualization of execution traces, covered in part 2
Compared with other major E2E frameworks such as Cypress and Selenium, Playwright’s strength is its strong balance of stability, speed, and developer experience.
Try running Playwright tests
You can view the project containing the test code used in this article here. The project can be run locally, so try it out.
First, try running Playwright tests to see how they work. Clone the repository above, install the dependencies, and run the following commands.
# Install dependencies
npm install
# Start the Playwright test runner in UI mode
npm run e2eTest_ui
The Playwright test runner starts in UI mode, and tests can be run from there. Press the run button to start the tests.
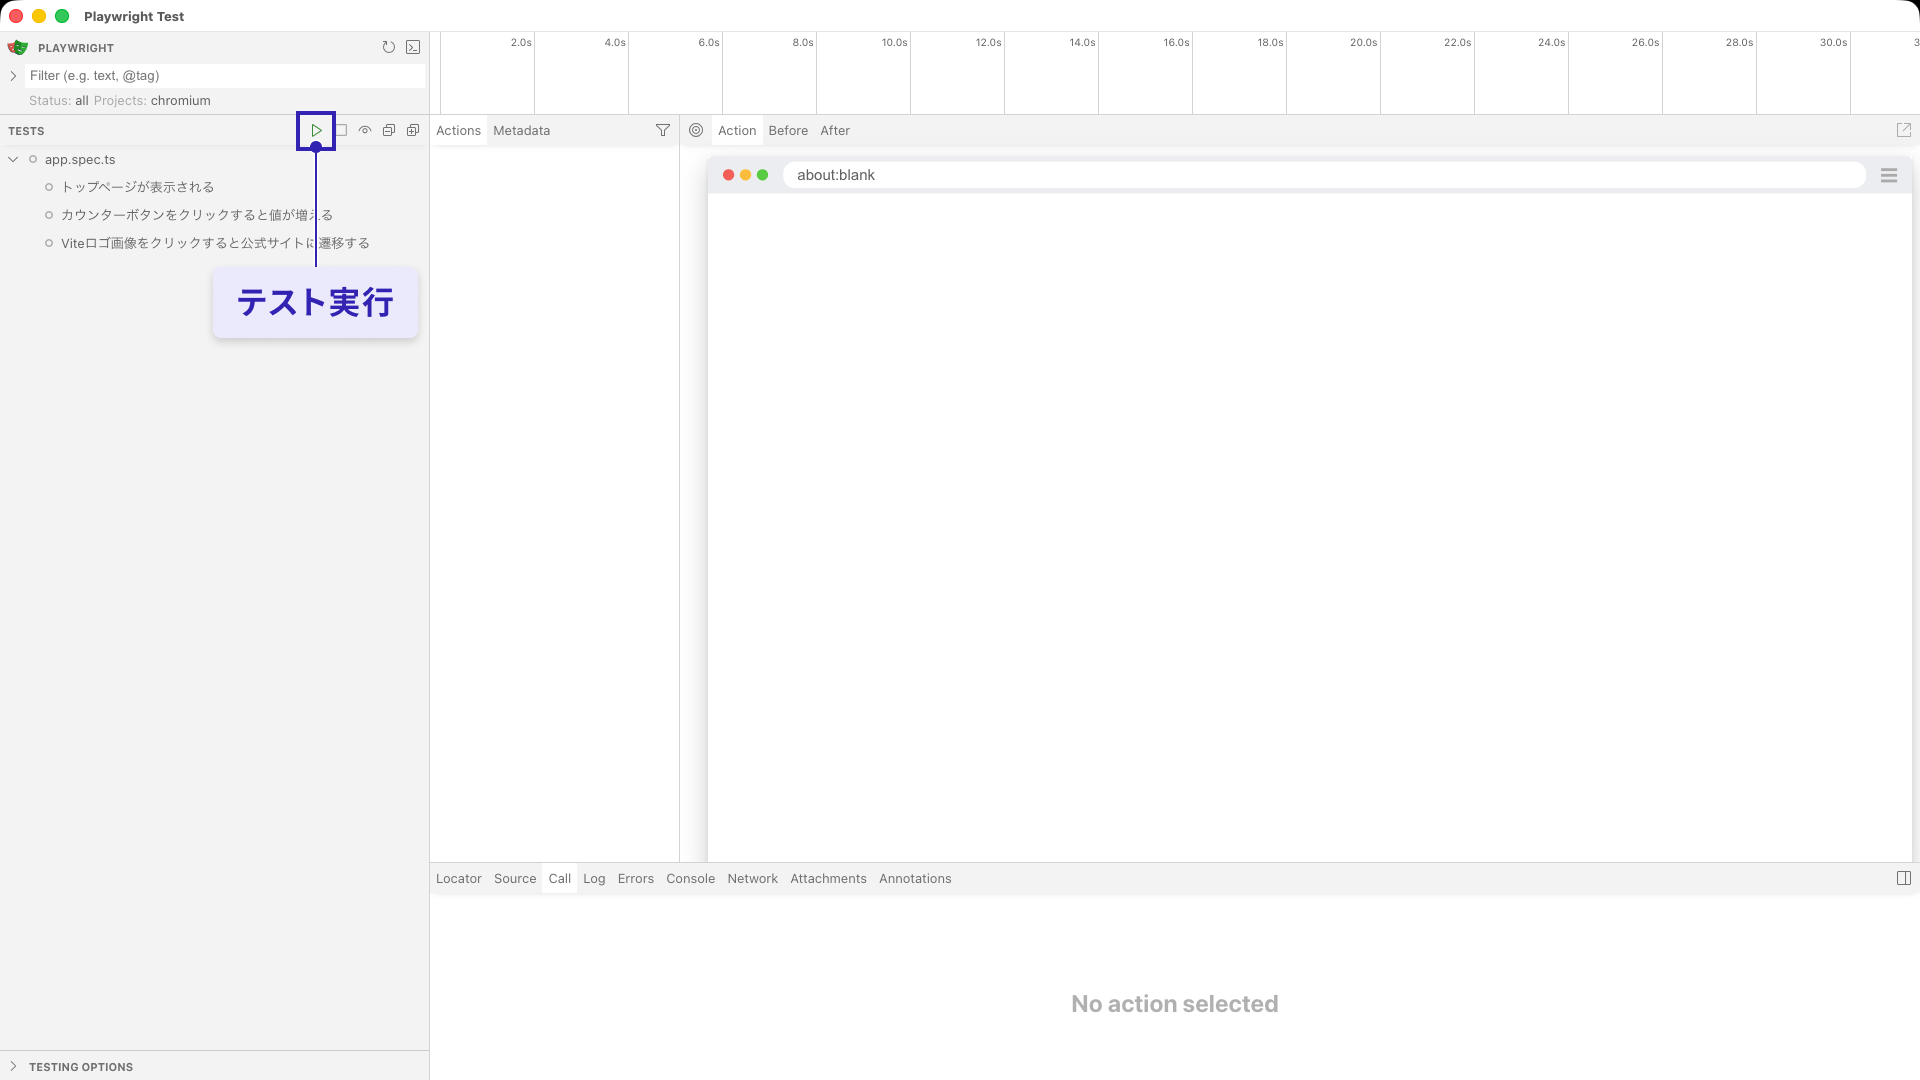
When the tests finish, passing tests are shown in green and failing tests are shown in red. Select each test to view detailed execution logs and screenshots.
For example, selecting the timeline at the top displays screenshots captured at each test step. This makes it easier to visually identify which operation failed.
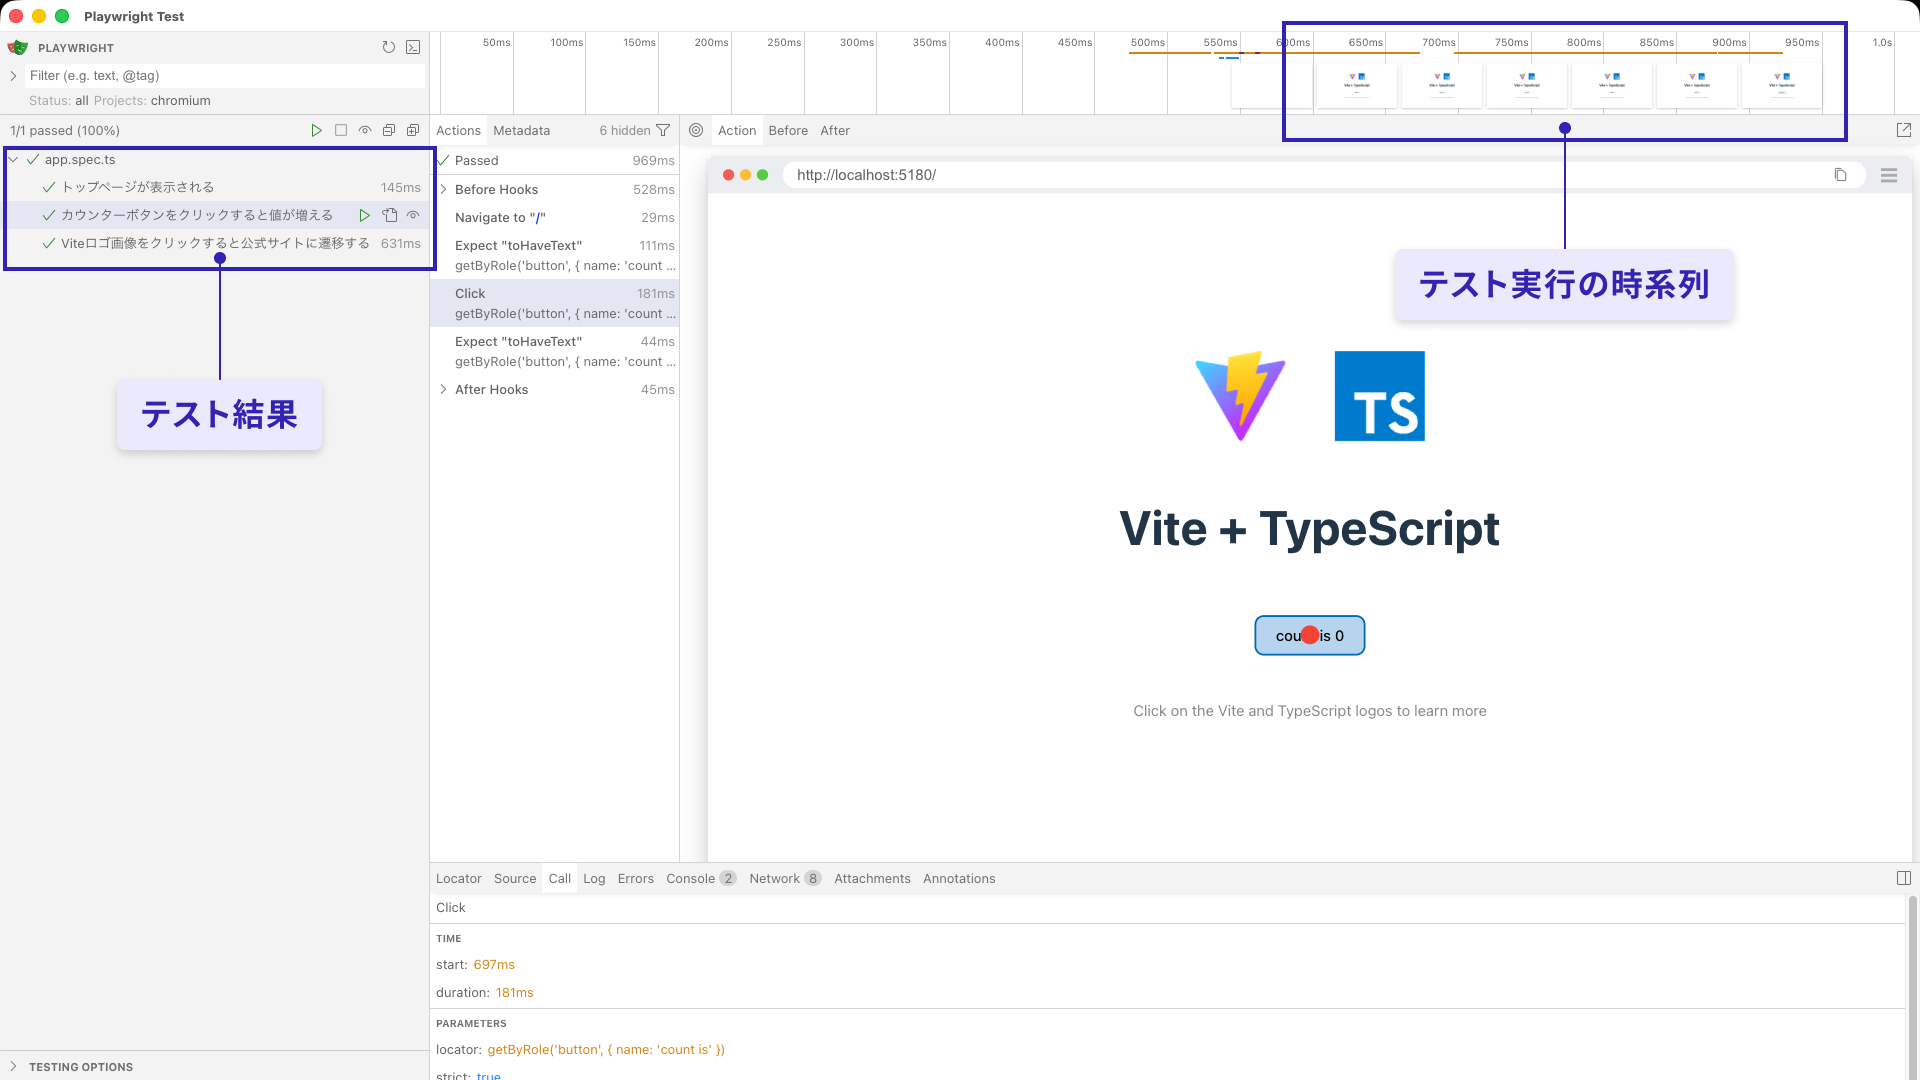
By interacting with the UI mode test runner, you should get a clearer picture of how E2E tests are executed in Playwright. With that in mind, the next sections explain how to introduce Playwright and write test code.
Setting up Playwright
This section explains how to add Playwright to an existing project. The example uses a Vite + TypeScript project, but the steps are the same for both existing and new projects.
0. Prepare the project
As a substitute for an existing project, create a Vite + TypeScript project first.
For more about Vite project setup, see Vite guide - HTML, TypeScript, React, Vue, and Tailwind CSS.
Create a new project with Vite:
npm init vite@latest
# Select "vanilla" as the framework and "TypeScript" as the variant
1. Install packages
Add the test runner package to the project. You also need to install the browsers that Playwright uses for testing.
# Add the test runner to the project
npm install -D @playwright/test
# Install the browsers used by Playwright for testing
npx playwright install
2. Configure playwright.config.ts
Add a Playwright configuration file to the project root. There are several configuration options, but this section focuses on commonly used ones.
playwright.config.ts
import {defineConfig, devices} from '@playwright/test';

export default defineConfig({
  // Specify the directory where tests are placed
  testDir: './tests',
  // Specify the web server used when running tests
  webServer: {
    command: 'npm run dev -- --port 5180',
    url: 'http://localhost:5180',
  },
  use: {
    // Specify the base URL for the test target
    baseURL: 'http://localhost:5180/',
    // Specify whether to launch the browser in headless mode
    headless: true,
  },
  // Specify variations of the test execution environment
  projects: [
    {
      name: 'chromium',
      use: {...devices['Desktop Chrome']},
    },
    // Other browsers omitted
  ],
});
testDir
Specifies the directory where tests are placed. If another testing environment, such as unit tests, already exists, you can use a separate directory so the test environments can coexist.
webServer
Specifies the web server to use when running tests. The server is started automatically, so you do not need to run a Vite command beforehand. Specifying a port also helps avoid conflicts with the port used during development.
When you want to specify the port, set it inside webServer.command. For Vite’s vite command, use the --port option.
use.baseURL
Specifies the base URL for the test target. Relative paths passed to page.goto() are resolved against this URL.
use.headless
Specifies whether to launch the browser in headless mode. Since tests usually only need to run in the background, true, or omitting the headless option entirely, is usually fine. However, it is useful to know this option exists when you want to watch the browser while the test runs.
projects
Specifies multiple test execution environments, such as target browsers and screen sizes.
3. Create a test
Add a test file to the tests directory specified by testDir in playwright.config.ts. Files ending in .spec.ts, such as app.spec.ts, are recognized as test files.
Example project structure. Files marked with comments are Playwright-related files.
project/
├─ public
├─ src
├─ tests/
│  └─ app.spec.ts        # Playwright-related file
├─ index.html
├─ package.json
├─ playwright.config.ts  # Playwright-related file
└─ tsconfig.json
The following example clicks a button and checks that the text changes. Locators, which are used to find elements, are explained later.
The basic flow of an E2E test is to get an element and evaluate it with expect(). This is similar to unit testing, so people who have written unit tests should find it easy to understand.
tests/app.spec.ts
import {expect, test} from '@playwright/test';

test('clicking the counter button increments the value', async ({page}) => {
  await page.goto('/');
  // Get a Locator for the button
  const counter = page.getByRole('button', {name: 'count is'});
  // Check the Locator's text
  await expect(counter).toHaveText('count is 0');
  // Operate the Locator
  await counter.click();
  // Check the Locator's text
  await expect(counter).toHaveText('count is 1');
});
4. Run the test
Run the playwright test command to execute the tests in the directory specified by playwright.config.ts.
Add the command to the npm scripts in package.json:
"scripts": {
  "e2eTest": "playwright test"
}
Run the command added to npm scripts:
npm run e2eTest
Locators
Playwright uses a mechanism called Locators to find and operate elements on the screen.
In conventional E2E testing, tests often became unstable because the test tried to get an element before it existed, or because a rerender replaced the element and broke the reference.
Playwright Locators include auto-waiting behavior, such as waiting until an element is displayed and retrieving the correct element again even after the DOM is updated. This makes it possible to write stable tests without writing your own wait logic.
Use roles to get Locators
Playwright recommends getting Locators based on accessibility role information.
const button = page.getByRole('button', { name: 'Submit' });
This button is not a simple snapshot of the DOM. It is handled as a reference that keeps looking for an element matching the specified conditions. Because of this, even if the screen rerenders or an element is temporarily removed and recreated, you do not need to retrieve the element again each time. This helps keep tests stable.
Using getByRole() to get Locators has the following benefits:
- It is resilient to visual and structural changes. If you use a class name that can change frequently with state changes instead of
getByRole(), the reference may break. - It describes the element in a way that is close to how people operate the UI. You can specify the role and name recognized by users, such as buttons, links, and labels.
- It improves accessibility. To use
getByRole(), the DOM needs to be accessible, so the implementation naturally becomes more accessibility-aware.
This results in tests whose intent is easier to understand than tests that rely only on CSS selectors.
When getting an element by role is difficult, you can also specify a selector directly with the page.locator() method.
const input = page.locator('input[name="email"]');
Codegen
Playwright includes Codegen, a code generator that can record browser operations directly as test code. Using Codegen greatly reduces the amount of test code you need to write manually and lowers the learning cost.
For this app, start the server by running the dev command, then run the following command. Vite’s dev command starts a server on port 5173 by default, so specify port 5173 for Codegen as well.
npx playwright codegen http://localhost:5173
When you run the playwright codegen command, the app automatically opens in a browser. As you operate the browser in that state, the operations you perform are automatically recorded as test code.
Recording browser operations with Codegen:
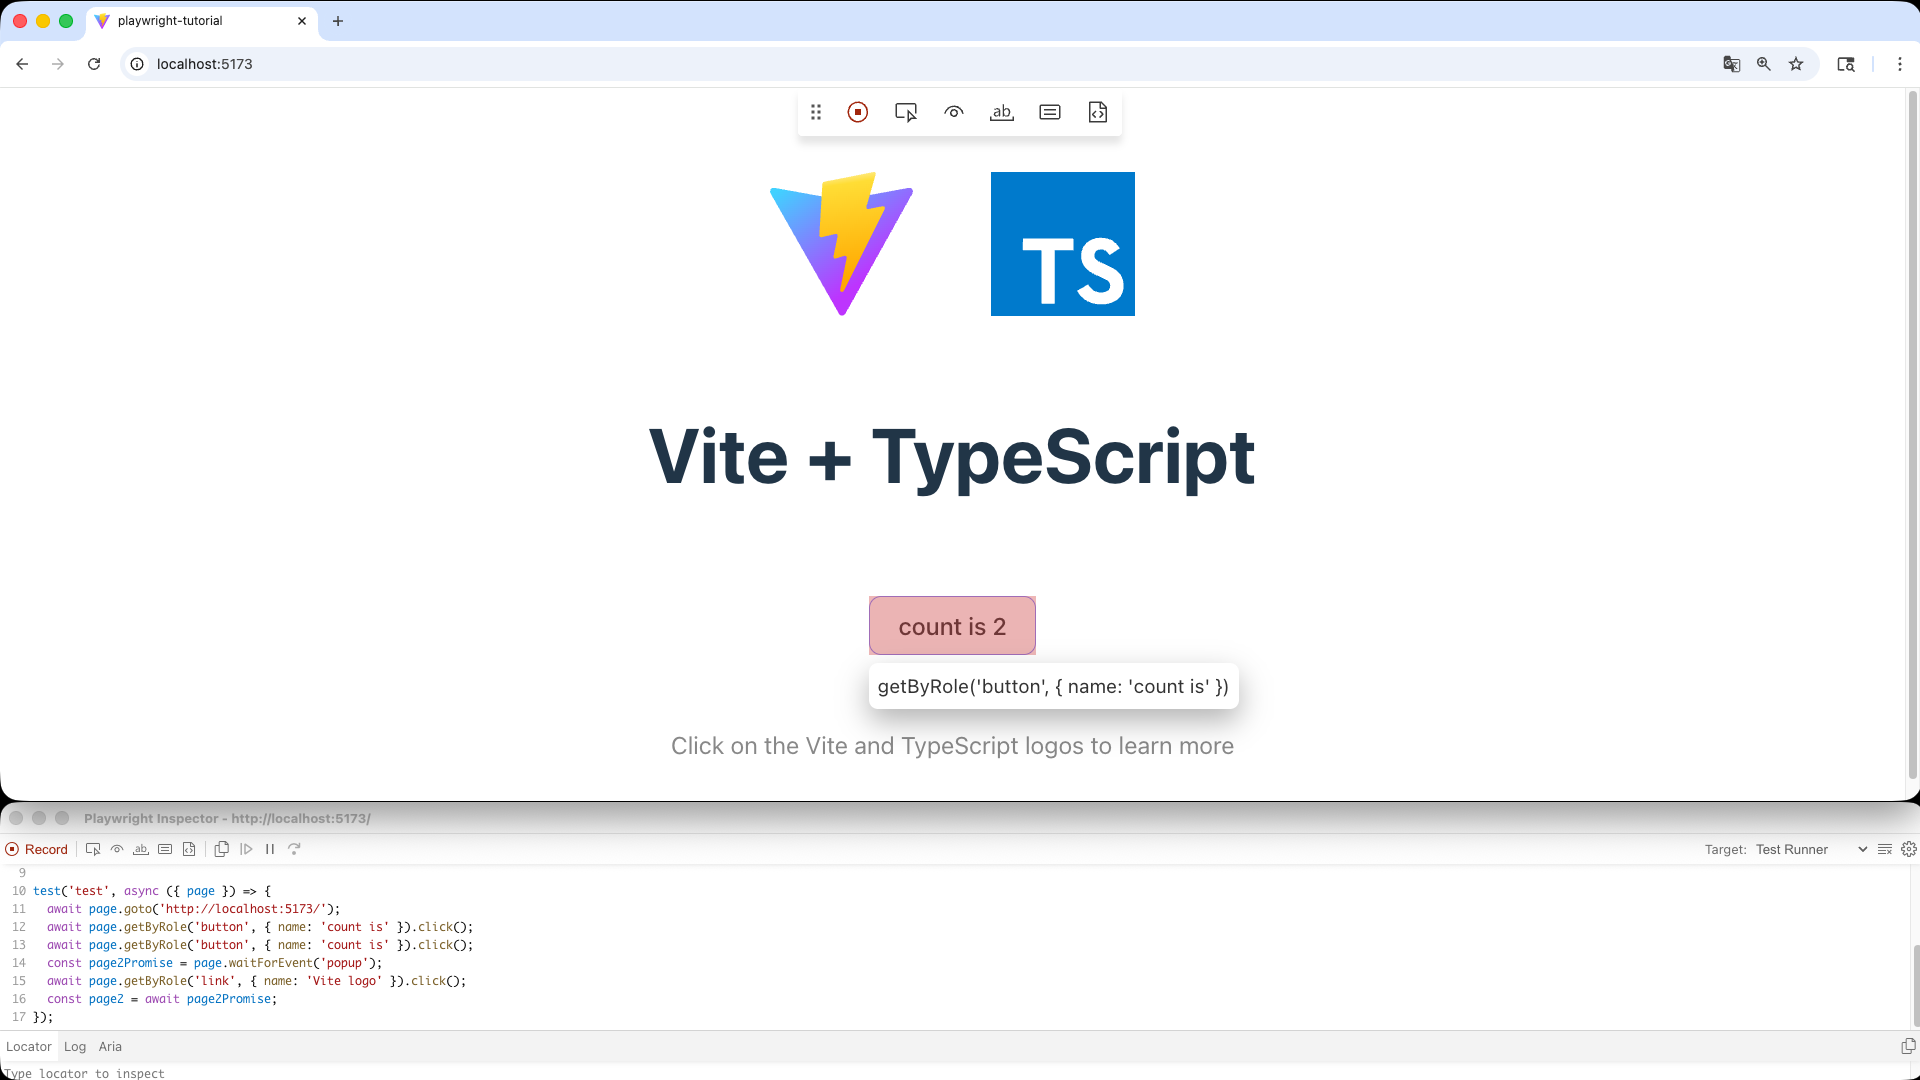
The generated code records every operation, so using it as-is can make the test code verbose. Treat it as a base for test code, and use it as a hint for getting Locators and choosing operations.
Conclusion
E2E testing is sometimes skipped in small applications because setup and maintenance costs are seen as high. However, Playwright is easy to introduce, making it possible to maintain quality while keeping operational cost low. Consider adding E2E tests to your own projects.
This article covered the basic workflow for E2E testing with Playwright. In Part 2, we introduce Playwright’s trace feature, which is useful for analyzing failed tests, and explain how to run E2E tests in a CI environment using GitHub Actions.